Are you ready to transform your architectural models from simple designs to stunning, detailed masterpieces?
With the right tools, techniques, and materials, you can elevate your model-making skills to new heights.
Let's dive into the art and science of creating models that captivate and persuade!
The Power of Detail and Precision
Creating architectural models involves meticulous attention to detail.
Every component, from the smallest window frame to the overall structure, must be crafted with precision.
The impact of these detailed models on client presentations and design reviews is profound.
They offer a tangible representation of your vision, making it easier for clients to grasp and appreciate the nuances of your design.
Consider using laser cutters for intricate details. These tools offer unparalleled accuracy, allowing you to create complex patterns and designs that would be challenging to achieve by hand. Furthermore, laser cutters can work with a variety of materials, from wood to acrylic, providing flexibility in your model-making process.
Precision matters because it transforms abstract concepts into concrete realities, facilitating clearer communication with clients. For example, accurately scaled windows and doors help clients understand spatial relationships and functionality. When clients can see and feel these details, it builds trust in your vision and craftsmanship.
Choosing the Right Materials

The selection of materials plays a critical role in the quality and durability of your models. Common choices include foam board, balsa wood, and acrylic.
Each material has its unique properties and suitability depending on the model's purpose and scale.
Foam Board: Lightweight and easy to cut, ideal for quick, rough models. Perfect for initial concept development, where rapid prototyping and iterations are necessary. For example, you can quickly assemble massing models to explore volumetric relationships within a design.
Balsa Wood: Offers a more refined finish, suitable for detailed, professional models. Its ease of cutting and lightweight nature make it ideal for structural elements and intricate details. Use balsa wood to create detailed facades or structural frameworks that require a higher degree of refinement.
Acrylic: Provides a modern, sleek look and is perfect for transparent elements like windows and water features. Acrylic can also be laser cut and etched, allowing for high precision in intricate designs. Utilize acrylic to add contemporary features such as glass walls or skylights.
Experiment with different materials to discover their unique benefits and how they can enhance various aspects of your models. Mixing materials can add depth and texture, making your models more dynamic and visually appealing.
Consider the sustainability and cost of materials. Recyclable or biodegradable options can align with eco-friendly design principles, appealing to environmentally conscious clients.
Incorporating Technology
Modern technology has revolutionized architectural model making.
Tools like 3D printers and laser cutters can significantly improve the efficiency and precision of your work.
3D Printing: Allows for the creation of complex structures that would be time-consuming or impossible to build manually. Particularly useful for creating intricate, detailed components quickly (source). For instance, you can print custom-designed building facades with complex geometric patterns.
Laser Cutting: Offers high precision and is ideal for cutting intricate patterns and components from various materials, including wood and acrylic. Laser cutting can also engrave details, adding another layer of texture and realism to your models. Use laser cutting to produce detailed latticework or patterned screens.
Integrating these technologies into your model-making process not only saves time but also allows you to push the boundaries of design and detail. Combining 3D printing with traditional handcrafting techniques can result in unique, hybrid models that showcase both technological precision and artisanal quality.
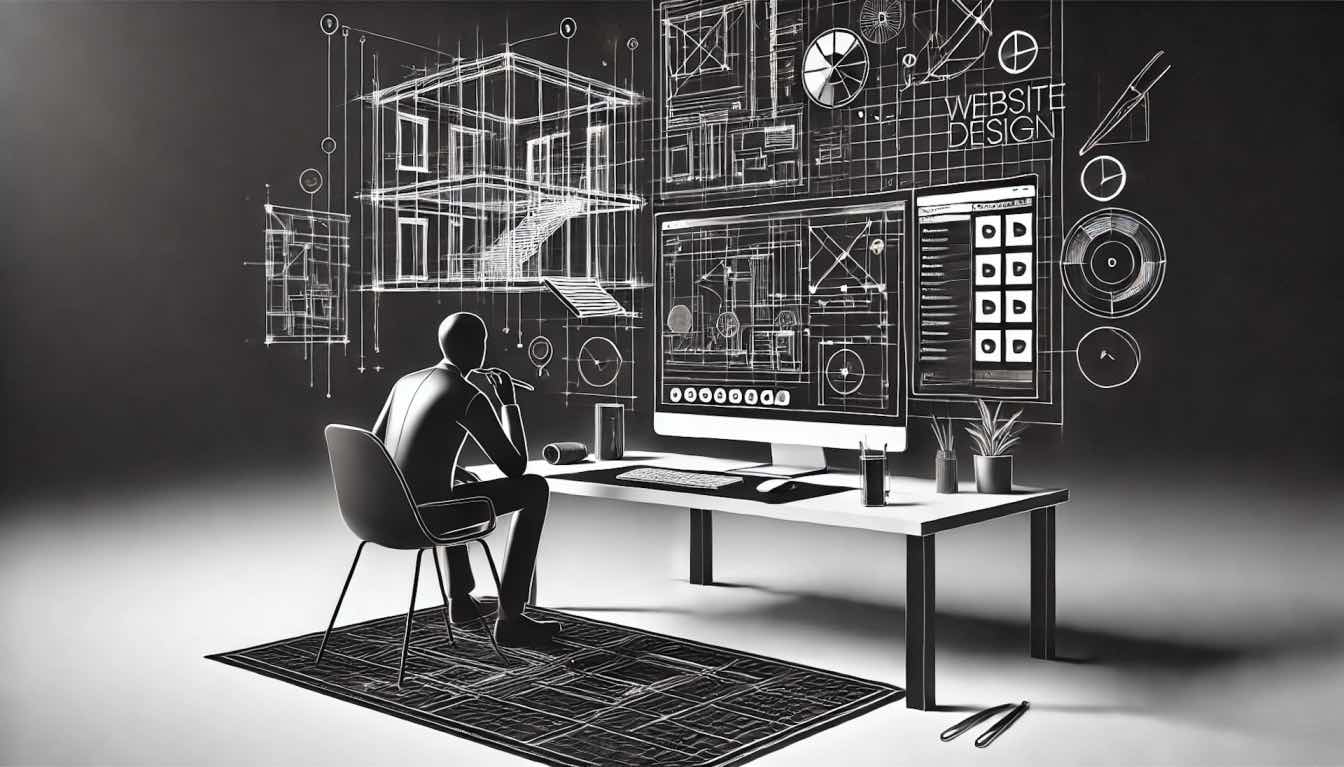
The use of CAD software for model design allows for easy modifications and iterations, ensuring that your models can evolve with your design process.
Tools for Model Making
A well-equipped toolkit is essential for producing high-quality architectural models.
Here are some indispensable tools for any model maker:
Cutting Tools: Precision knives, scalpels, and scissors are fundamental for cutting various materials. A self-healing cutting mat protects your work surface and extends the life of your blades.
Measuring Tools: Steel rulers, measuring tapes, and calipers ensure accuracy in your measurements. Digital calipers are particularly useful for precise measurements.
Adhesives: Different adhesives for different materials—PVA glue for wood, solvent-based adhesives for plastics, and spray adhesives for quick, large area applications.
Sanding and Filing Tools: Sandpaper, needle files, and sanding sticks help smooth and finish edges and surfaces.
Clamps and Weights: Holding pieces in place while the adhesive sets ensures clean, strong bonds.
Painting and Finishing Tools: Fine brushes, airbrushes, and various paints for adding realistic textures and finishes.
Magnifying Tools: Magnifying glasses or headsets with lights for detailed work on small components.
Hand Tools: Pliers, tweezers, and needle-nose pliers are invaluable for manipulating small parts and ensuring precision. Pliers can help bend wire or metal pieces (Maun are best for these), while tweezers are perfect for placing tiny components without disturbing adjacent parts.

Parallel-Pliers by Maun
Investing in high-quality tools improves the precision and quality of your models, making the process more efficient and enjoyable.
Techniques for Realistic Models
To make your models truly stand out, incorporating realistic textures and details is essential.
Techniques such as painting, adding scale figures, and including landscaping elements can bring your models to life.
Painting: Use fine brushes and high-quality paints to add realistic finishes. Airbrushing can be used for smooth gradients and subtle shading. Techniques like dry brushing can add weathering effects and texture. For instance, lightly brushing grey paint over a stone wall can simulate wear and aging.
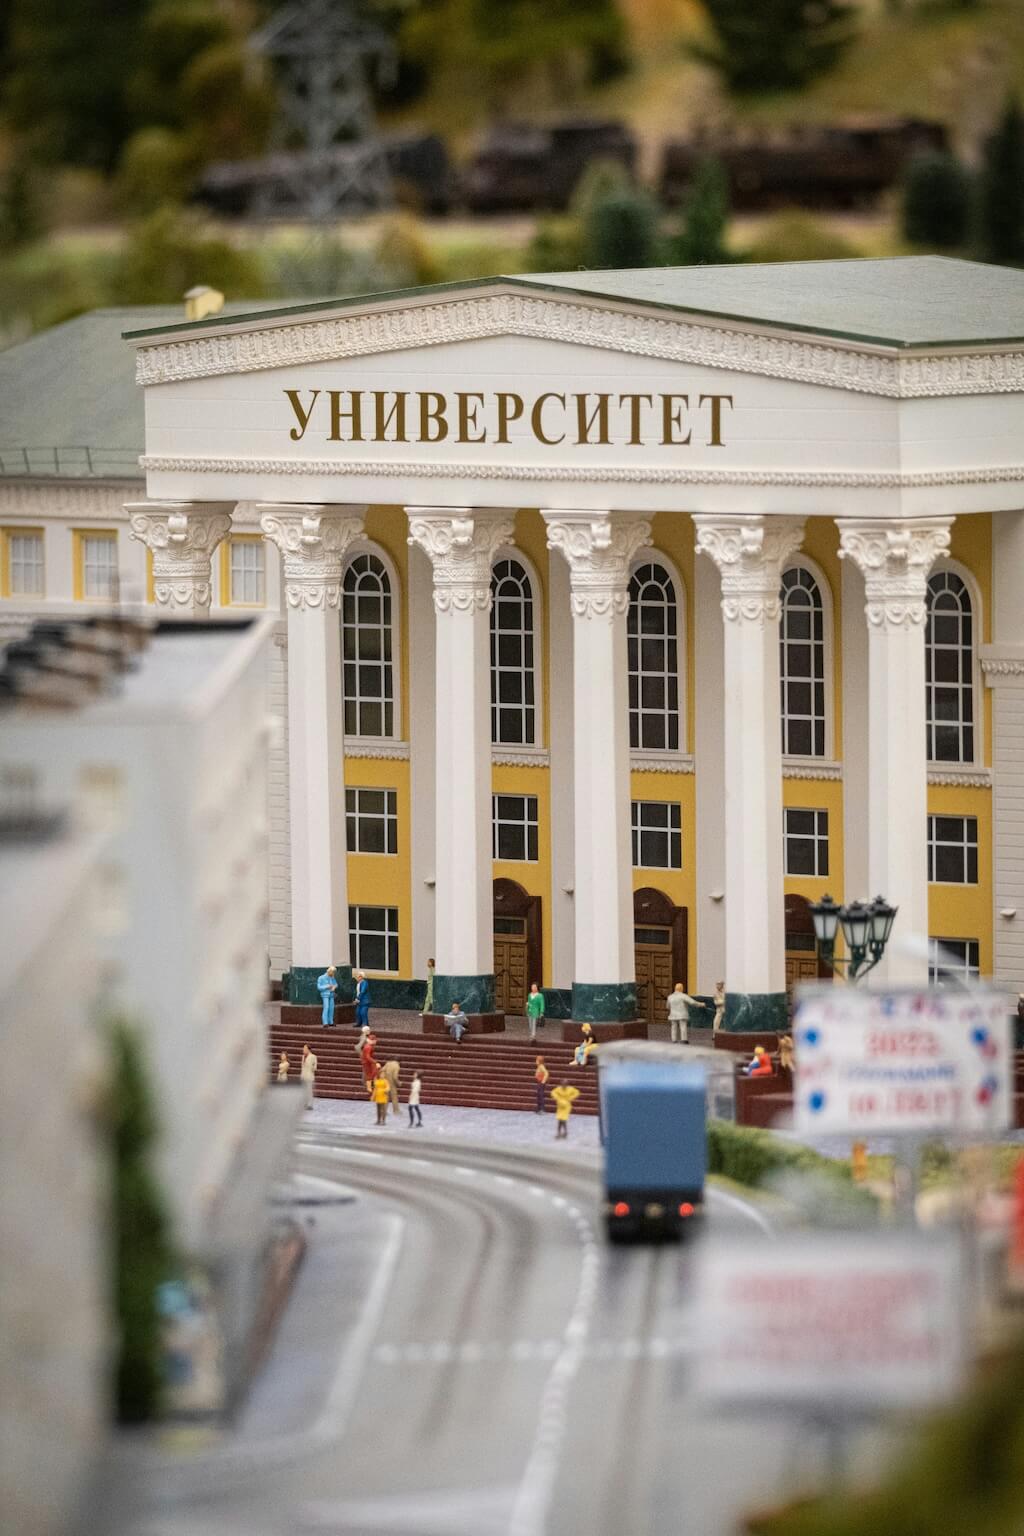
Scale Figures: Adding miniature people, cars, and other elements provides a sense of scale and liveliness. Choose figures that reflect the intended use and demographics of the space. For a residential project, add families and pets; for commercial spaces, include businesspeople and vehicles.
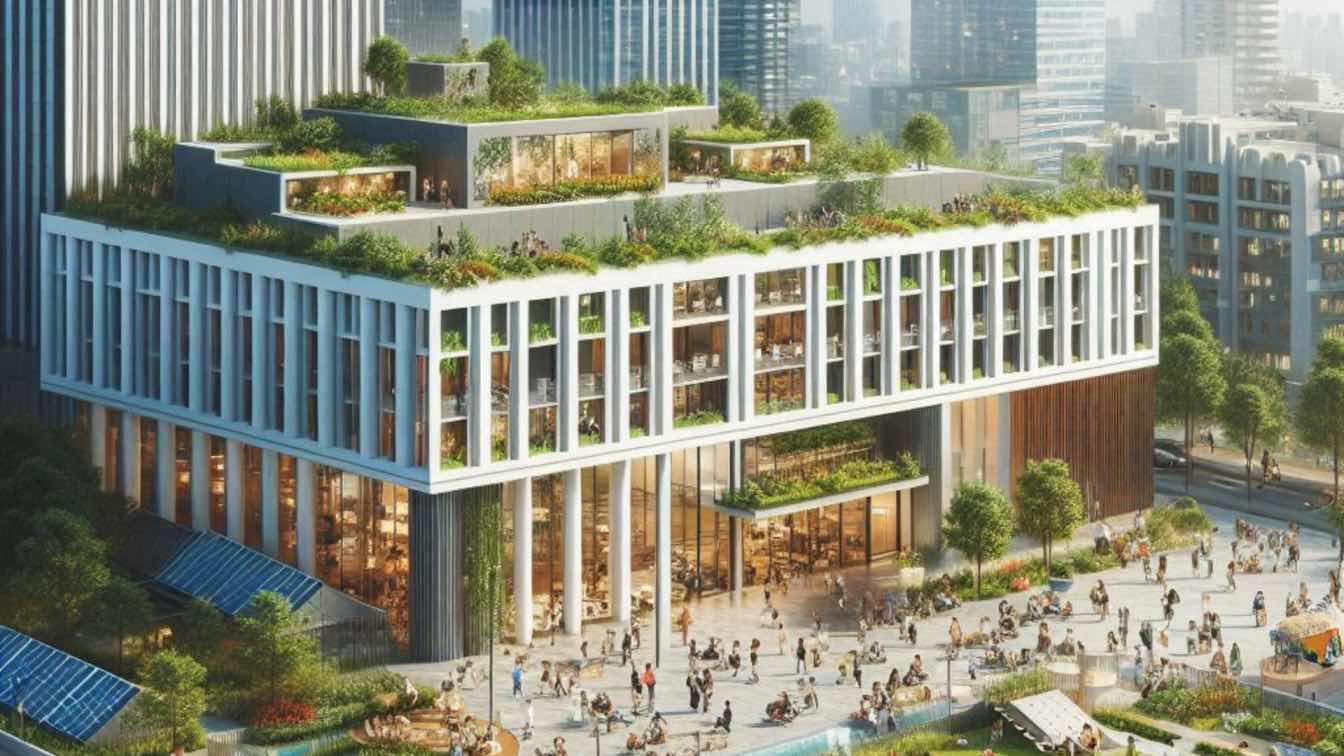
Landscaping: Incorporate elements like trees, grass, and water features to create a more immersive and realistic environment. Use fine fibers for grass or clear resin for water features. Adding realistic landscaping can turn a static model into a vibrant scene.
The more realistic and detailed your models, the more they can evoke emotional responses and connect with clients on a deeper level. This realism can also assist in design decision-making, providing a more accurate representation of the final project.
Storytelling Through Models
Each model you create tells a story. It's not just about the physical representation of a building but about conveying the vision, purpose, and experience of the space.
Think about how your model can best communicate the narrative of the project.
For instance, if designing a community center, your model should highlight areas where people gather, showcasing open spaces, seating areas, and communal facilities. Use lighting to create different atmospheres, simulating how the space will feel during various times of the day and different events.
Effective storytelling through models can bridge the gap between concept and reality, making your designs more relatable and understandable. Consider using interactive elements, such as removable sections or modular components, to demonstrate different aspects of the design.
Incorporating multimedia elements, such as augmented reality (AR) overlays or QR codes linking to digital content, can enhance the storytelling aspect, providing clients with a richer, more immersive experience.
Practical Tips for Model Making
1. Plan Ahead: Before starting, have a clear plan and a detailed sketch of your model. Know the dimensions and the scale you'll be working with. Creating a step-by-step timeline, outlining each phase of the model-making process, ensures efficient progress.
2. Organize Your Workspace: Keep your tools and materials organized. A tidy workspace improves efficiency and reduces the risk of errors. Invest in storage solutions and work surfaces that accommodate your tools and materials comfortably.
3. Practice Patience: Model making can be time-consuming. Take your time with each component to ensure accuracy and quality. Break down the process into manageable tasks and set realistic deadlines to maintain focus and motivation.
4. Seek Feedback: Regularly get feedback from peers or mentors. They might offer insights or suggestions that can improve your model. Constructive criticism can provide new perspectives and help refine your techniques.
Taking the time to meticulously plan and execute each step of your model-making process ensures a high-quality result that truly represents your vision. Document your process with photographs and notes, which can be valuable for future projects and for sharing your methods with others.
Consider attending workshops or joining model-making communities to stay updated on new techniques and materials and to network with fellow professionals.
Summary
Architectural model making is a blend of art and science. By focusing on detail, choosing the right materials, incorporating modern technology, and telling a compelling story, you can elevate your models from mere representations to powerful tools of communication and persuasion.
Invest in your tools, hone your techniques, and let each model you create be a testament to your skills and vision as an architect.