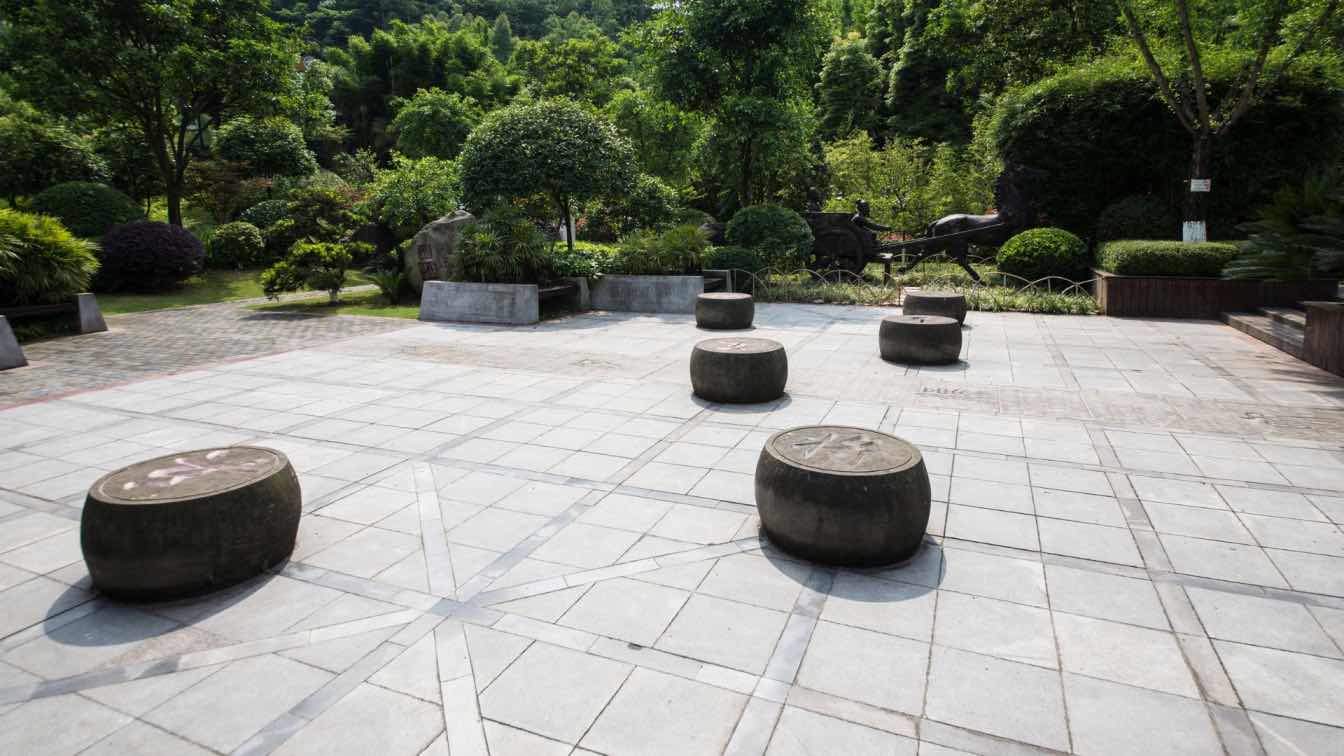
A clean, well-laid paved surface can instantly elevate any outdoor space, but achieving that finish takes more than just stacking slabs in neat rows. While the process may look simple, it is often where DIYers and even some pros slip up.
Precision matters at every stage, from digging the base to locking the final joint. Mistakes made early on can lead to drainage issues, loose edges, or sunken sections down the line. When working with concrete pavers, a sharp eye for detail and solid groundwork can be the difference between a quick fix and a lasting finish.
Rushing the Site Preparation
Most problems don’t start with the pavers, they begin before they even hit the ground. Rushing the preparation stage is probably the biggest trap. It might be tempting to get straight to laying, but if the base is poorly prepared, no amount of aligning or adjusting will save it.
Proper site prep means digging deep enough, removing all roots and soft soil, and compacting each layer thoroughly. A rushed or uneven base turns into a shifting, uneven mess after the first heavy rainfall or a few months of wear.
Ignoring Drainage and Gradient Requirements
Pavers might look smooth and level, but that shouldn’t mean flat. One of the more subtle but costly mistakes is ignoring how water will behave. If the surface doesn't gently slope away from nearby structures, water will pool, seep underneath, and over time, compromise both the pavers and the surrounding ground.
Even a slight slope can change everything. Planning the gradient during the early stages of excavation saves a lot of grief later. Without it, you are not just risking damp patches but also inviting erosion, weeds, and gradual surface failure.
Skipping the Jointing Process
Joint sand might seem like a minor finishing touch, but it is actually one of the key structural elements of a paved surface. It locks everything together and helps prevent shifting. Neglecting this step or doing it in the wrong order can lead to movement between pavers, which gradually gets worse over time.
The trick is to use a fine, angular sand and sweep it into the joints after the pavers are laid but before the final compaction. Some DIYers make the mistake of compacting too early, which allows the pavers to settle unevenly or rub against each other. And even once the job is done, expect to top up the sand again after a week or two as it settles in fully.
Leaving Out Edge Restraints
Edge restraints are important. Without them, the neatest design starts to creep outward, especially under load or with seasonal changes in temperature and moisture. It is not enough to rely on the weight of the pavers alone, they need something to hold them in place.
Whether you use concrete, metal, or a durable plastic edge, the important thing is that it’s properly anchored into the compacted base. These barriers stop the entire layout from losing shape over time.
Choosing the Wrong Paver for the Job
A sleek, decorative paver that looks fantastic in a courtyard might crumble under the weight of a vehicle. That is why choosing the right material matters just as much as how it’s laid.
Concrete pavers vary widely in strength, finish, and texture. Selecting the right type for the intended load and exposure will save you from cracks, chips, and premature wear. Trusted suppliers offer ranges that combine style with strength, making it easier to match the right product to the right purpose without compromising on durability.
Final Thoughts
A great paving job is all about laying a solid foundation that stands the test of time. Avoiding the mistakes listed above gives you the best chance at a result that won’t need reworking after the first rainy season.
Get the base right, plan for water, lock the joints, reinforce the edges, and choose your materials wisely. That is how you take a project from average to exceptional.


