Great projects don’t succeed by accident, they succeed because small details were decided early and executed consistently. Whether you’re planning a deck, a bathroom remodel, a compact addition, or exterior upgrades, the difference between “looks good” and “lives great” comes down to fundamentals: structure, water management, movement, and maintenance.
Below is a builder’s playbook organized around the most requested residential projects. It’s written for homeowners who want to set a clear brief and for designers who want their drawings honored in the field.
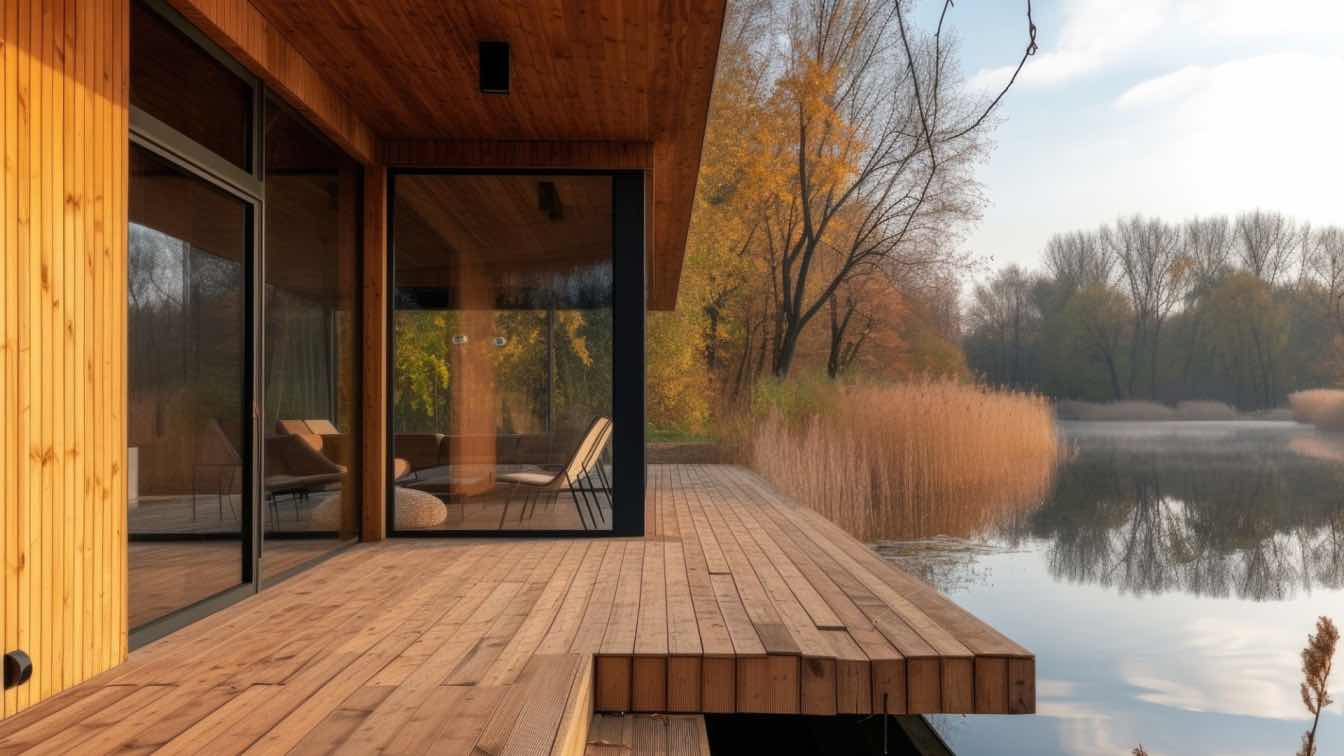
Outdoor Living That Ages Well: Decks
A deck lives at the intersection of structure and weather. The best designs feel effortless because the details are disciplined.
Foundations & Structure
Footings: Sized to soil and load, with posts centered and hardware hot-dipped galvanized or stainless. Avoid burying untreated posts; use post bases above grade.
Ledger attachment: Through-bolts into rim joists (not just sheathing), continuous metal flashing, and a shingle-style sequence tying WRB, flashing, and siding together. This single seam determines whether the house stays dry.
Framing spans: Select joist depth and spacing from span tables for the chosen species. For diagonal decking patterns, tighten spacing or boost joist size to control bounce.
Lateral load: Consider tension ties at the ledger and proper blocking to resist racking on taller decks.
Decking Materials
Pressure-treated wood: Affordable and classic; specify end-grain sealing and consistent fastener layout. Plan for a maintenance rhythm (clean + coat).
Composite/PVC: Leave required expansion gaps and ensure under-deck ventilation per manufacturer spec. Hidden fasteners create clean lines, but don’t skip perimeter screws at board ends.
Stairs, Railings, Lighting
Stairs: Calculate riser/tread to code early so finished deck height aligns with comfortable, consistent steps (no “trip” at the bottom landing).
Railings: Baluster spacing, graspable profiles, and guard height matter; pick a system that visually matches the decking.
Lighting: Low-voltage step and post caps increase safety and extend usable hours, run conduits before decking goes down.
Durability shortcuts
Drip edges on beam tops, end-grain sealant, and breathable under-deck space keep moisture moving.
Pergolas & shade: Anchor independently or engineer connections; always flash penetrations at the house.
Bathrooms That Never Leak: From Pan to Paint
Waterproofing is a system, not a product. Curbless or curbed, tile or solid-surface, the steps are similar.
Shower assembly
Slope: 1/4 in. per foot to drain achieved in the substrate, not with tile thickness.
Pans & membranes: Sheet or liquid waterproofing tied into the drain body with preformed corners at benches and niches. Perform a 24-hour flood test before tile.
Backer & vapor: Use appropriate cementitious backer or foam board; don’t double up a poly vapor retarder and a surface membrane (moisture sandwich).
Movement joints: Soft joints at changes of plane; resist the urge to grout every intersection.
Tile layout & details
Mockups: Dry-lay key walls to align grout joints through niches, corners, and valves.
Edges: Metal trims or mitered edges, choose early to avoid last-minute compromises.
Glass: Account for channel vs. clamp hardware and slope under glass to keep sills dry.
Ventilation & maintenance
Fans: Size to room; duct directly outdoors with minimal runs. Put it on a humidity sensor or timer switch.
Materials: Choose grout with stain resistance, and educate the homeowner on gentle cleaners that won’t degrade sealants.
Compact Additions That Feel Original, Not “Added On”
Sunrooms, primary suites, in-law suites, small additions succeed when structure, envelope, and services integrate seamlessly.
Structure & envelope
Load paths: Verify bearing points, headers, and shear bracing early. If you’re removing exterior wall segments, plan engineered beams and posts that land somewhere real.
Weather management: Tie new WRB into the existing with proper laps and flashings. At roof junctions, step flashing plus counter-flashing, not just sealant as it prevents callbacks.
Thermal continuity: Extend the air barrier and insulation plane without gaps; align window/door performance with the existing house.
MEP coordination
HVAC: Avoid “oversized single grille” solutions; balance comfort with added returns or a ducted mini-split in compact spaces.
Electrical: AFCI/GFCI where required, and enough circuits for hairdryers, heaters, or future loads; plan device layout around furniture.
Plumbing: For baths or bars in additions, check drainage fall and venting routes before framing locks you in.
Finishes
Match profiles (casing, base, crown) and floor elevations. A consistent reveal of 1/8 in. shadow lines, flush transitions makes new space feel like it was always there.
Siding & Exterior Facades: Keep Water Moving
Most exterior failures are water-related, not material defects. Build a drainage strategy first; choose cladding second.
Layers & sequencing
WRB as system: Choose a drainable wrap or panelized WRB and pair it with compatible flashing tapes (check manufacturer cross-compatibility).
Rainscreen: Even 3/8–¾ “ furring behind siding boosts drying and paint life. Inset bug screens at the base.
Windows/doors: Pan flash the sill, shingle-lap the jambs, and counter-flash the head. Trim details should shed water, not trap it.
Cladding choices
Fiber-cement: Durable and crisp; pre-finish reduces maintenance. Respect clearances to grade and roofing.
Engineered wood: Lighter, fast to install. End-seal cuts and use corrosion-resistant fasteners.
Vinyl: Economical; critical to let it float. Flash behind it correctly since vinyl isn’t a water barrier.
Floors & Tile That Don’t Telecast Problems
Beautiful finishes demand boringly perfect substrates.
Substrate prep
Flatness: Check FF/FL or use a straightedge; self-leveling underlayment where needed. Tile wants flat more than level.
Deflection: L/360 for ceramic, L/720 for stone; add stiffness before aesthetic choices.
Underlayments: Decoupling membranes reduce crack telegraphing. Use compatible mortars/adhesives per spec.
Wet-area floors
Waterproof the floor outside curbless showers with continuous membranes and proper transitions. Keep thresholds flush and dry by planning slope and drain placement.
Transitions
Meet height changes with reducers or flush details; avoid trip points at doorways by coordinating finished floor build-ups (tile + thinset + membrane vs. LVP + pad).
Hand-Offs That Prevent Callbacks
Submittals & mockups
Cabinet drawings, tile patterns, railing sections, and waterproofing sequences should be signed off before fabrication.
Inspection holds
Pre-cover inspections (framing, rough MEP, insulation), shower flood test sign-off, and photo logs of concealed work. Once the walls close, proof matters.
Closeout
As-built documents, finish schedules, warranty package, and a maintenance calendar. A 30-day and 11-month follow-up keeps small issues small.
Budget Guardrails You’ll Be Glad You Set
Alternates vs. allowances: Put “nice-to-have” choices in alternates; reserve allowances for truly undecided items (tile/fixtures) and document the per-unit assumptions.
Escalation & contingency: Budget for material volatility and a realistic owner contingency (5–10% based on scope).
Change discipline: Price changes before work proceeds; track cumulative impact so there are no end-of-project surprises.
Choosing the Right Builder for These Scopes
You’re not just looking for craftsmanship; you’re looking for a process. When you interview any construction contractor, ask for a sample submittal log, a recent shower flood-test photo, a ledger flashing detail from a deck build, and a rainscreen section from a siding job. If they can’t produce them quickly, they probably don’t build this way every day.
Teams like Patriot Property Pros aim to make the “invisible” parts of the job as good as the visible ones, because that’s where durability lives.
A One-Page Checklist You Can Copy
Project: Deck / Bathroom / Addition / Exterior / Flooring
Preconstruction: Scope sheet, line-item estimate, schedule with long-lead items, risk register
Structure: Verified spans, load paths, and hold-downs (deck lateral ties, addition headers)
Water: WRB + flashing sequence, rainscreen where applicable, shower flood test
Movement: Expansion gaps (composite decking), soft joints (tile), floating claddings (vinyl)
MEP: Ventilation, dedicated circuits, HVAC capacity/returns, plumbing fall/vents
Mockups: Tile corners/niches, railing connections, deck-to-house flashing, siding terminations
Inspections: Pre-cover, flood test sign-off, photo documentation
Closeout: As-builts, O&M manuals, finish schedule, warranty & maintenance plan
Use this to set expectations up front—so the space you imagined is the one you get, and it stays that way.