Upgrading your floors with vinyl is an exciting project. It is a budget-friendly option that offers stunning visuals and impressive durability. But let’s be honest, the installation process can seem intimidating. However, with a few clever hacks and thorough planning, you can achieve a professional-looking vinyl floor that’ll be the envy of your neighborhood.
Before You Begin
If you’re not starting with a bare subfloor, you might need to remove vinyl flooring that’s currently installed. This can be a dusty job, so wear a mask and gloves. The removal process depends on the type of vinyl you have. Glue-down vinyl requires some muscle and patience. You’ll likely need a scraper or putty knife to loosen the tiles or planks, working in sections. Be careful not to damage the subfloor underneath. Alternatively, some stick-down vinyl might have a releasable adhesive, allowing you to pry up the planks with a flat tool.
For click-lock vinyl, the process is, thankfully, simpler. Most systems allow you to disassemble the planks from the starting point (usually a wall) by gently prying them apart. Once the old floor is out, take a deep breath. You have conquered the first hurdle.
Preparation Is Key
Now comes the prep work, which is just as important as the installation itself. A smooth, level subfloor is essential for a proper flooring finish. Here’s where your detective skills come into play. Grab a straightedge and level to check for dips, bumps, or unevenness. Sand down any high spots and fill in low areas with a leveling compound. Patience is key here. Let the compound dry completely before sanding it smooth.
Next, banish dust and debris. Sweep, vacuum, and then go over the subfloor with a tack cloth to remove any lingering particles. Even the tiniest spot can create imperfections in your new floor, so a clean surface is important.
Mastering The Layout For A Stunning Look
Before diving headfirst into the installation, take a moment to plan your layout. This is especially important for patterned vinyl. Here are some hacks to consider:
Random Is Your Friend: Unless you have a very specific pattern in mind, opt for a random layout. This simply means opening multiple boxes of vinyl and mixing the planks before installation, creating a more natural and visually pleasing floor.
Think Big Picture: Start by laying out a full row of planks dry-fit (without clicking them together) along the longest wall. This will help you visualize the overall look and make adjustments if needed.
Minimize Waste: Plan your first row to avoid narrow cuts at the end. You can use these leftover pieces to start the next row, minimizing waste.
Installation Magic
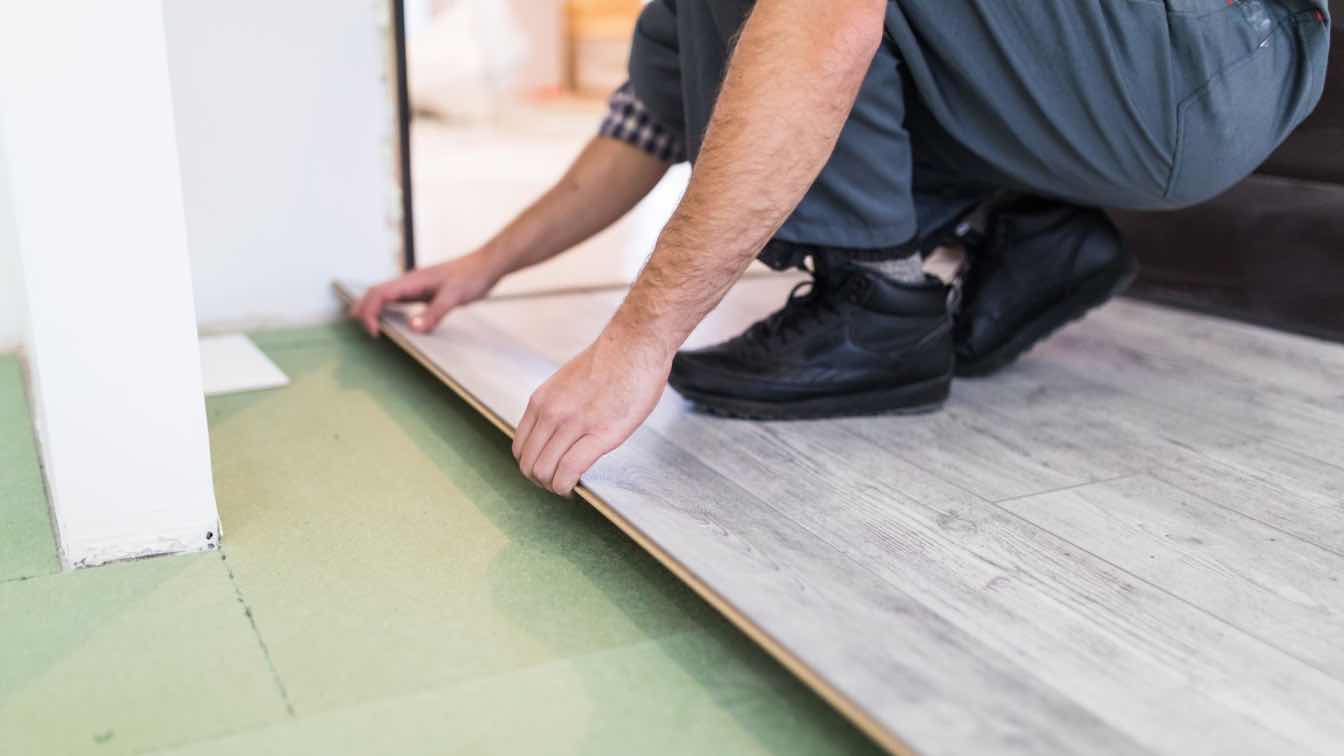
Now comes the fun part—laying down your beautiful new vinyl. Most modern vinyl flooring uses a click-lock system, making installation a breeze. Here are some hacks to ensure a seamless finish:
Tapping Technique: Use a tapping block and tapping tool (often included with the flooring) to gently click the planks together. Don’t force them. A light tap should be sufficient.
Expansion is Key: Leave a small gap (usually specified by the manufacturer) around the perimeter of the floor. This expansion gap allows the vinyl to contract and expand with temperature changes, preventing buckling. Use spacers to maintain a consistent gap throughout the installation.
Cutting Corners (literally): Don’t be afraid to cut planks to fit around obstacles like pipes and doorways. Use a sharp utility knife and a straightedge for clean cuts.
Tricks For Transitions and Finishing Touches
Door Jambs: Sometimes, doorways might need a slight adjustment to accommodate the thickness of the new floor. You can use a jamb saw to carefully trim a small section from the bottom of the door jamb.
Transition Strips: Use transition strips to create a smooth and finished look between different flooring types.
Seal Your Way To Perfection: Apply a thin coat of caulk along the baseboards to create a professional finish and prevent moisture from seeping under the vinyl.
Closing Thoughts
Installing vinyl flooring might seem daunting at first, but with these hacks, you’re well on your way to achieving a professional-looking finish. The key is planning, patience, and a healthy dose of a positive attitude. Grab your tools now, unleash your creativity, and transform your space with the beauty and practicality of vinyl flooring.