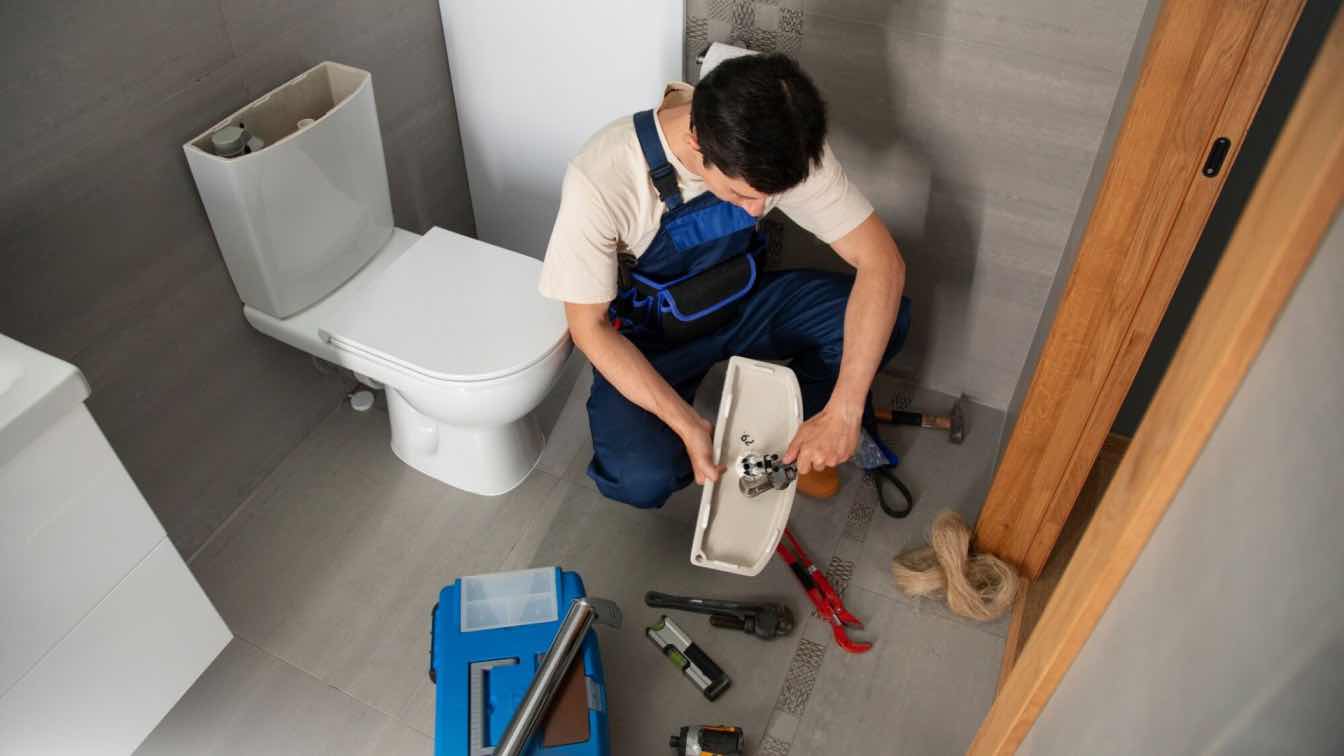
Installing a bidet can significantly enhance your bathroom experience by offering a higher level of hygiene and comfort. Whether you are a DIY enthusiast or a complete beginner, this guide will walk you through installing a bidet step-by-step.
Gather Your Tools and Materials
Prior to beginning, ensure you have all the necessary tools and materials to facilitate a seamless and problem-free installation.
Adjustable wrench: Essential for tightening and loosening nuts and bolts.
Screwdriver: Choose between flathead or Phillips, depending on your toilet seat type.
Teflon or plumber's tape: Ensures threaded pipe connections are sealed tightly against leaks.
Bidet attachment or seat: Options include attachment for existing seat or complete seat replacement.
Towels and buckets: Useful for managing water spills.
User manual: Provides specific instructions and tips.
Turn Off the Water Supply
Find the water shutoff valve near your toilet, usually positioned on the wall or floor behind it. Rotate the valve clockwise to halt the water flow. Flush the toilet once or twice to ensure no remaining water is in it. Use a towel to dry any residual water in the bowl and tank.
Remove the Existing Toilet Seat
Utilize a screwdriver to loosen and remove the bolts that secure the toilet seat to the bowl. The specific steps may vary depending on your toilet model.
Plastic or Metal Caps: Pry off any caps covering the bolts using a flathead screwdriver.
Bolt Removal: Unscrew the bolts using the appropriate screwdriver or wrench, holding the nut underneath with your hand or pliers.
Carefully lift the seat off and set it aside, keeping the bolts and nuts safe.
Install the Bidet Attachment or Seat
Align the bidet attachment or seat over the toilet bowl, ensuring it matches up with the bolt holes.
Attachment Installation: Place the attachment on the toilet rim and align the attachment holes with the toilet seat holes.
Bidet Seat Installation: Refer to the user manual for detailed instructions. Insert the bolts through the designated holes and secure them using an adjustable wrench. Make sure the bidet is firmly secured and correctly aligned with the toilet bowl.
Connect the Water Supply
In this step, connect the bidet to your toilet's water supply:
Apply Teflon tape around the threads of the T-valve to create a tight seal.
Attach the T-Valve: Screw the T-valve onto the fill valve of your toilet tank, connecting the existing water supply line to one end of the T-valve.
Connect the bidet hose, attaching one end to the T-valve and the other end to the bidet unit. Use an adjustable wrench to tighten all connections securely, being careful not to over-tighten and potentially damage the threads.
Activate the Water Supply
Gradually open the valve by turning it counterclockwise. Check all the connections for leaks:
Initial Check: Watch for any drips or leaks around the connections as the water starts flowing.
Adjustments: If you observe any leaks, use an adjustable wrench to secure the connections more tightly. If leaks persist, reapply Teflon tape and tighten it.
Test the Bidet
Verify the bidet's functionality by using its controls:
Power Connection: If your bidet requires electricity, plug it into a nearby outlet.
Control Test: Use the control panel to activate the bidet spray. Set the water pressure and spray direction to suit your preferences.
Leak Check: While testing, observe all connections and the bidet unit for any signs of leaks or malfunction.
Seek Professional Help if Needed
If you encounter any issues during installation, such as persistent leaks or difficulties connecting the water supply, it may be best to consult a plumber:
Complex Installations: A plumber's expertise can be invaluable for more complex bidet systems.
Peace of Mind and Compliance: Hiring a plumber guarantees adherence to plumbing codes and standards.
By adhering to these guidelines, you can experience the advantages of a bidet in your home, improving both bathroom hygiene and comfort.
Conclusion
Installing a bidet is a rewarding project that can improve your bathroom hygiene and comfort. Following these detailed steps will enable you to successfully install a bidet and enjoy its many advantages. Ensure you work carefully, verify all connections thoroughly, and seek professional help if necessary. With your new bidet installed, you can look forward to a cleaner, more refreshing bathroom experience.


